Keap (formerly Infusionsoft) is one of the most capable CRM and marketing automation platforms built for small service businesses. But if your leads come through a WordPress contact form, there’s a good chance Keap has no idea where those leads came from. You know a lead filled out a form. You don’t know whether they clicked a Google Ad, found you through a blog post, or came from an email campaign.
That gap makes it nearly impossible to answer the most important question in marketing: which campaigns are actually producing customers?
This post walks through exactly how to close that gap — connecting WordPress lead forms to Keap so that lead source, campaign, and keyword data flows into every contact record automatically.
Why lead source tracking is harder with Keap
Keap has powerful automation and tagging built in, but it does not automatically capture UTM parameters from your website. When someone clicks a Google Ad with a UTM like utm_source=google&utm_medium=cpc&utm_campaign=roofing-services and then fills out a WordPress contact form, Keap receives the form submission — but not the UTM data.
The result: a contact record with a name, email, and phone number, and no record of how they found you. Over time, you accumulate hundreds of contacts with no source attribution. Every lead looks the same.
Keap’s tagging system is particularly powerful when it has good data. You can tag leads by source, trigger different automation sequences based on how they found you, and build reports that show which channels produce your best customers. But that system only works if source data gets into Keap in the first place.
The solution: UTM parameters into hidden form fields into Keap
The tracking approach works in three stages:
- A visitor lands on your site with UTM parameters in the URL
- JavaScript captures those UTMs and stores them in hidden form fields
- When the form submits, those hidden fields pass source data into Keap alongside the contact information
Getting this working requires a few pieces: custom fields in Keap, hidden fields in your WordPress form, and a bit of JavaScript to bridge the two. Here’s how to set it up.
Step 1: Create custom fields in Keap
Keap stores extra data on contact records using custom fields. Before you can pass UTM data in, you need fields to receive it.
In Keap, go to Settings > Custom Fields > Contacts and create the following fields as text fields:
- Lead Source (utm_source)
- Lead Medium (utm_medium)
- Lead Campaign (utm_campaign)
- Lead Term (utm_term)
- Lead Content (utm_content)
- Landing Page (the URL where the visitor first arrived)
Save the field IDs or internal names — you will need them when configuring your form integration.
Step 2: Set up UTMs on your campaigns
For tracking to work, your traffic sources need to include UTM parameters. Any link pointing to your site should include at minimum utm_source and utm_medium. For paid campaigns, add utm_campaign and utm_term.
Example for a Google Ad:
https://yoursite.com/contact/?utm_source=google&utm_medium=cpc&utm_campaign=emergency-plumbing&utm_term=plumber+near+meGoogle Ads can auto-apply UTMs using ValueTrack parameters. In your campaign settings, enable auto-tagging or use a final URL suffix like:
utm_source=google&utm_medium=cpc&utm_campaign={campaign}&utm_term={keyword}&utm_content={creative}For Facebook and Instagram Ads, add UTM parameters in the “URL Parameters” field of each ad. For email campaigns, tag every link in your emails before sending.
Step 3: Capture UTMs in your WordPress forms
Most WordPress form plugins support hidden fields that users never see but that submit alongside the visible fields. The goal is to populate those hidden fields with UTM values as soon as the page loads.
Add the following JavaScript to your site. You can add it via a Custom HTML block in WordPress, through your child theme’s functions.php, or through Google Tag Manager as a Custom HTML tag that fires on all pages.
<script>
function getUrlParam(name) {
  var url = new URL(window.location.href);
  return url.searchParams.get(name) || '';
}

function getCookie(name) {
  var match = document.cookie.match(new RegExp('(^| )' + name + '=([^;]+)'));
  return match ? match[2] : '';
}

// Store UTMs in cookies so they persist across page visits
var utmParams = ['utm_source','utm_medium','utm_campaign','utm_term','utm_content'];
utmParams.forEach(function(param) {
  var val = getUrlParam(param);
  if (val) {
    document.cookie = param + '=' + encodeURIComponent(val) + '; path=/; max-age=2592000';
  }
});

// Store landing page on first visit
if (!getCookie('landing_page')) {
  document.cookie = 'landing_page=' + encodeURIComponent(window.location.href) + '; path=/; max-age=2592000';
}

// Populate hidden form fields on DOM ready
document.addEventListener('DOMContentLoaded', function() {
  var fieldMap = {
    'utm_source_field': getCookie('utm_source') || getUrlParam('utm_source'),
    'utm_medium_field': getCookie('utm_medium') || getUrlParam('utm_medium'),
    'utm_campaign_field': getCookie('utm_campaign') || getUrlParam('utm_campaign'),
    'utm_term_field': getCookie('utm_term') || getUrlParam('utm_term'),
    'utm_content_field': getCookie('utm_content') || getUrlParam('utm_content'),
    'landing_page_field': getCookie('landing_page') || window.location.href
  };
  Object.keys(fieldMap).forEach(function(fieldId) {
    var el = document.getElementById(fieldId);
    if (el) el.value = fieldMap[fieldId];
  });
});
</script>
Replace the field IDs (utm_source_field, etc.) with the actual IDs of the hidden fields in your form. You will find those IDs in your form plugin’s field settings.
Step 4: Connect WordPress forms to Keap
How you pass the hidden field data to Keap depends on which tools you use. There are three common paths.
Option A: Native Keap hosted forms (simplest setup)
Keap provides hosted web forms you can embed on your WordPress site. When you build a form in Keap, add hidden fields for each UTM parameter and map them to your Keap custom fields. Then embed the form on your WordPress page.
The JavaScript above will still populate those hidden fields since it targets fields by ID. Make sure the IDs in the Keap form embed match the IDs in your script.
The trade-off is that Keap-hosted forms are less flexible to style. If the form design matters, the options below give you more control.
Option B: WPForms or Gravity Forms with Zapier
If you use WPForms, Gravity Forms, or a similar WordPress form plugin, you can pass form submissions to Keap via Zapier.
- Add hidden fields to your WordPress form for each UTM parameter
- In Zapier, create a Zap: Trigger: New form submission (WPForms or Gravity Forms), Action: Create or update contact in Keap
- Map the hidden field values from the form to the corresponding Keap custom fields
- Test the Zap with a real form submission to confirm the data is flowing correctly
This approach works reliably and requires no custom code beyond the JavaScript above. The downside is Zapier’s cost at higher submission volumes.
Option C: WPForms Keap addon or Gravity Forms Keap addon
Both WPForms and Gravity Forms offer native Keap integration addons. These connect directly without Zapier and let you map form fields to Keap fields and tags inside the WordPress admin.
With the Gravity Forms Keap Add-On, you can:
- Map any form field to any Keap custom field
- Apply Keap tags based on form answers or submission
- Trigger Keap sequences when a form is submitted
The native addons are typically more reliable than Zapier for high-volume sites and give you tighter control over automation triggers.
Step 5: Use Keap tags to segment by lead source
Once UTM data is flowing into Keap, the real power comes from using Keap’s tagging system to segment and route leads by source.
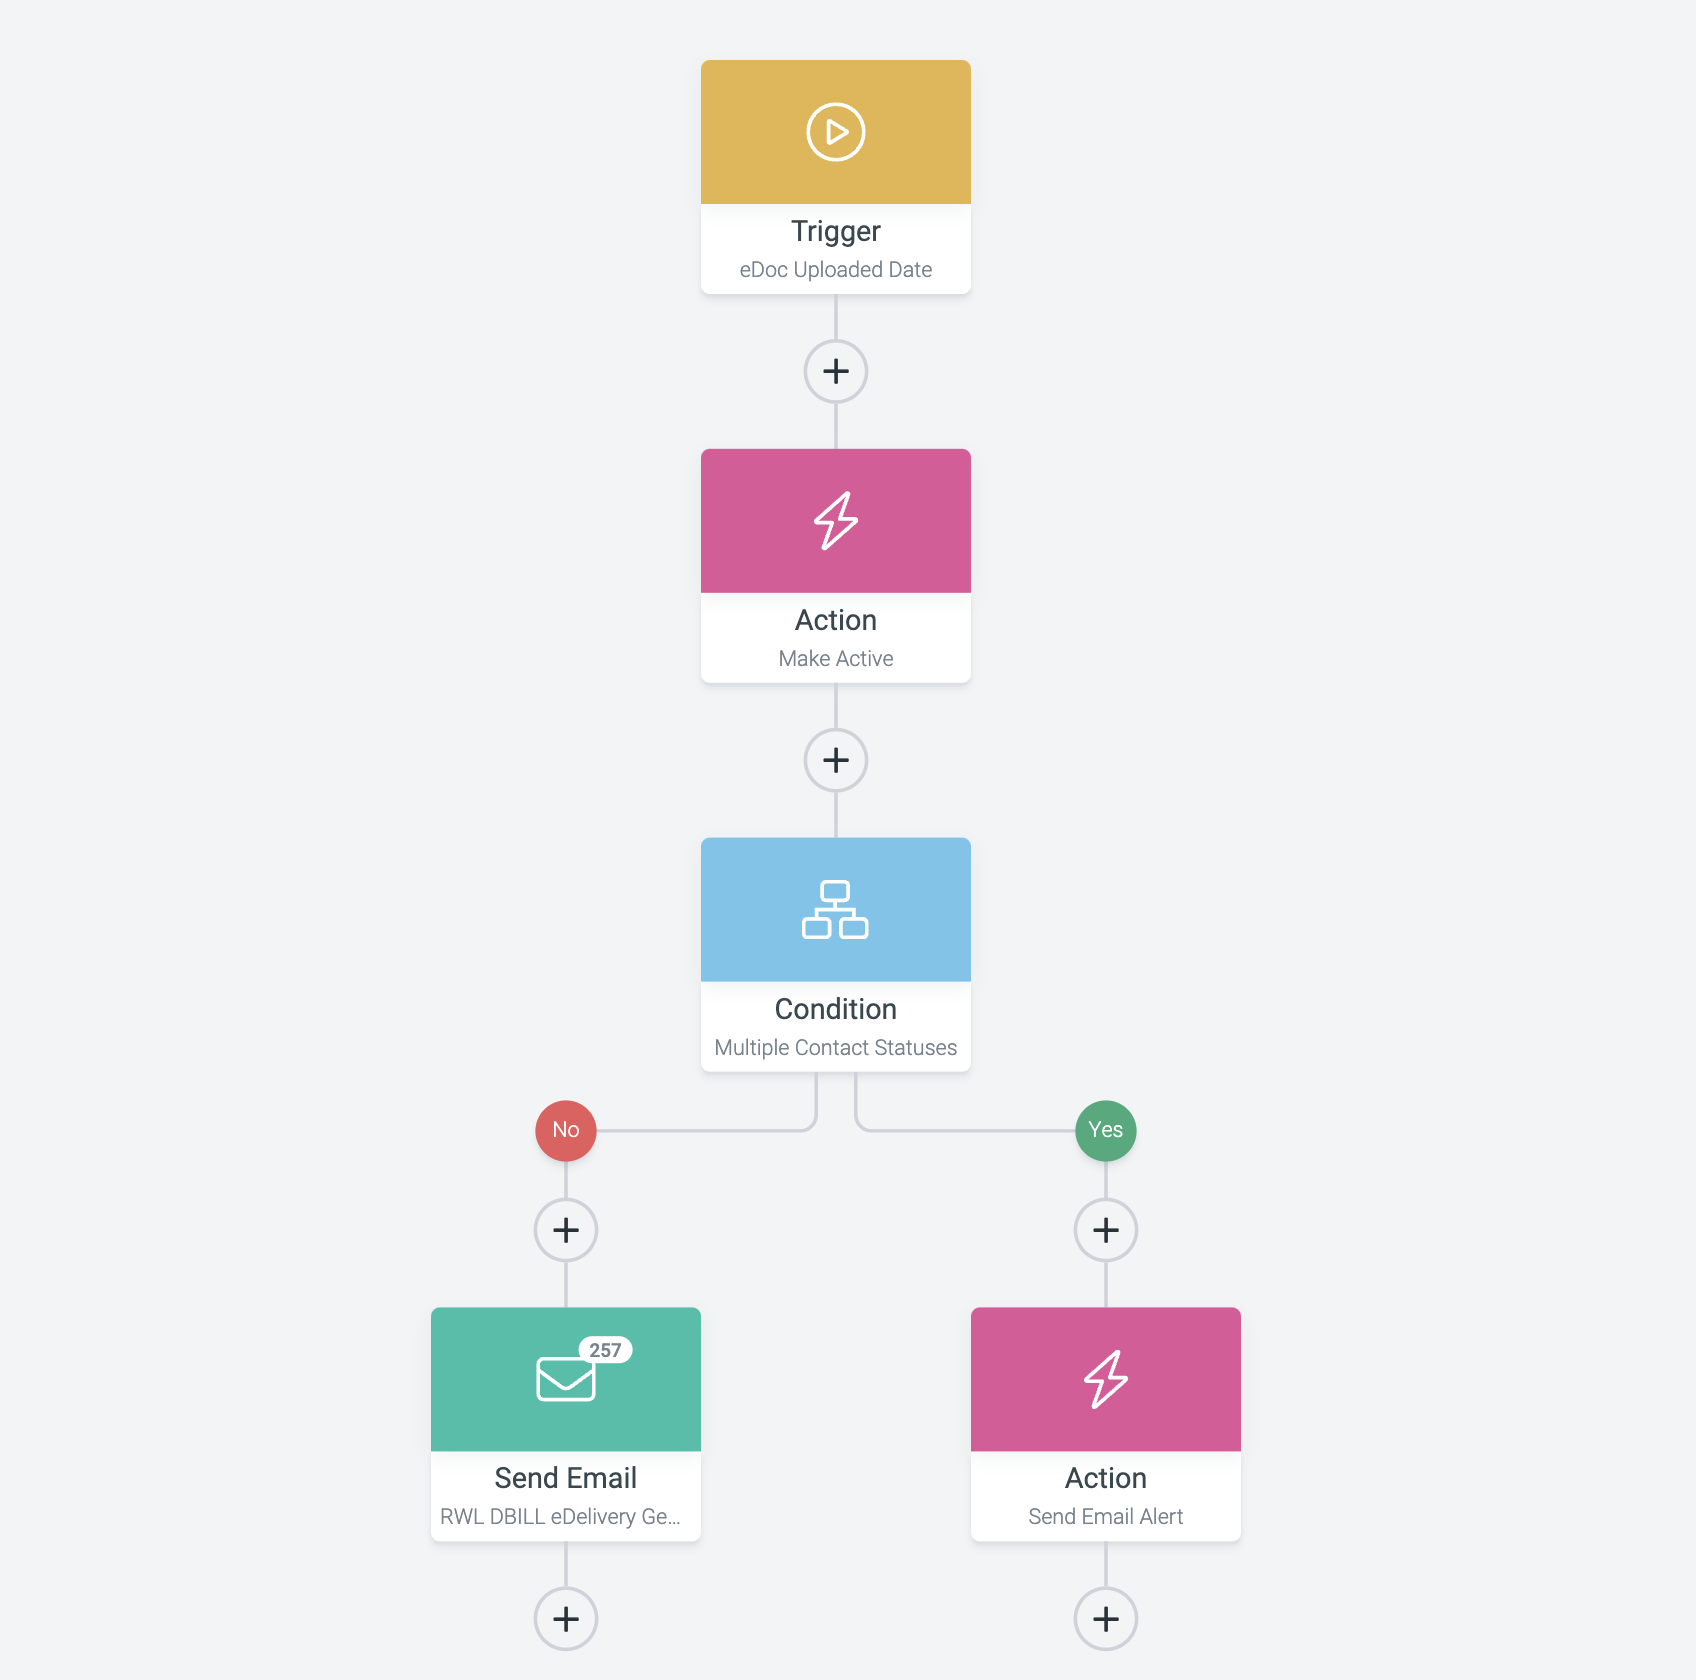
In your Keap automation builder, create a sequence that fires when a new contact is created. Add a Decision Diamond that checks the utm_source custom field:
- If utm_source contains “google” — apply tag “Lead: Google Ads” and start the Google Ads follow-up sequence
- If utm_source contains “facebook” — apply tag “Lead: Facebook” and start the social follow-up sequence
- If utm_source contains “organic” — apply tag “Lead: Organic” and start the organic nurture sequence
This lets you send different follow-up emails depending on where a lead came from, which usually improves conversion rates significantly. A lead from a Google Ad has different intent than a lead from a blog post.
Step 6: Report on lead source in Keap
With tags applied by source, you can run meaningful reports in Keap:
- Go to Reports > Contacts and filter by tag to see how many leads each source produced
- Cross-reference your Keap lead counts against your ad spend to calculate cost per lead by channel
- Track which source tags most often progress to “Customer” stage to find your best-converting channels
If you move customers through a pipeline in Keap, you can also tag contacts when they convert and run a report showing which source tags produced the most conversions — giving you a clear picture of which campaigns drive actual revenue, not just form fills.
What good attribution looks like in practice
Once this is set up, every contact record in Keap tells you a complete story. A new lead named Sarah arrives with:
- utm_source: google
- utm_medium: cpc
- utm_campaign: hvac-repair-madison
- utm_term: ac repair near me
- landing_page: /ac-repair/
- Tags: Lead: Google Ads, HVAC Repair
You know exactly which campaign and keyword drove Sarah to your site, which landing page she saw, and that she came from paid search. If Sarah books a job worth $1,200, that revenue traces back to your HVAC repair campaign. Over dozens of customers, you can see which campaigns produce revenue at a profitable cost per acquisition — and make confident budget decisions based on real data.
Common mistakes to avoid
Not storing UTMs in cookies. If your visitor lands on a blog post and then navigates to the contact page before filling out the form, the UTMs disappear from the URL. Storing them in cookies on first touch preserves them until the form is submitted.
Skipping the landing page field. Knowing which page a lead visited when they first arrived is often as useful as knowing the campaign. It tells you which content or offer is actually converting.
Only tagging Google Ads leads. Set up source tags for every channel you actively use: organic search, email campaigns, Facebook Ads, referral partners. If you only tag one source, your “no source” bucket grows and becomes meaningless.
Not testing after setup. Submit a test form with UTMs in the URL and confirm the contact record in Keap shows the correct custom field values and tags before you rely on the data.
The bottom line
Keap is built for the kind of automated follow-up that converts leads into customers. But that automation is most powerful when Keap knows where each lead came from. Connecting your WordPress forms to Keap with UTM tracking gives you source data on every contact, better segmented follow-up sequences, and the reporting you need to see which marketing channels are actually worth the investment.
The setup takes a few hours, but the payoff is attribution data that gets more valuable the longer you run it.